Your cart is empty now.

Delicious Coffee With a Moka Pot
- 27 June, 2022
- Kevin Seidnitzer
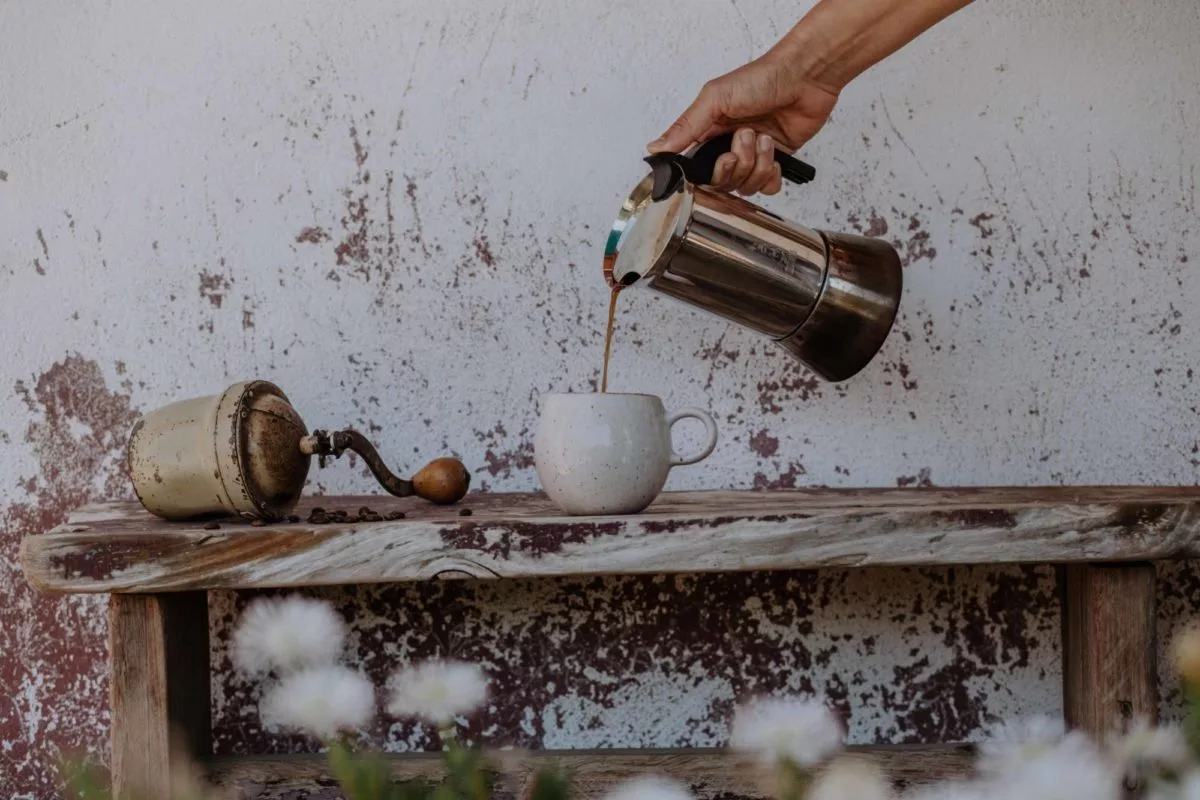
Whether you are nostalgic for an Italian coffee experience or enjoy a rich caffeine kick, the moka pot is a convenient and easy-to-use coffee maker that will brew a well-rounded cup of coffee if handled with care. Invented in 1933 by the Italian engineer Alfonso Bialetti, the moka pot quickly caught the attention of people across Italy. Due to its affordability and simplicity, it is widely used to this day – making stovetop coffee is a favorite morning routine all over Europe.
I first got introduced to the moka pot while spending a year abroad in Rome, when my Italian housemates would fill the whole apartment with the smell of freshly brewed coffee in the morning. To date, this is my favorite way to wake up! It is important to note that burning your coffee or extracting bitterness are common issues when brewing with a moka pot. Over the years, I learned a few tricks to make sure that the delicious aromas are accompanied by equally great taste. But before we dive into the how-to's of mastering the moka pot, let’s start by preparing ourselves for the perfect brew.

This article contains affiliate links to Amazon. As an Amazon Associate I earn from qualifying purchases.
Best Stovetop Coffee Makers on Amazon
Prep and Grind for the Perfect Stovetop Coffee
If you happen to own an induction stove, a stainless steel moka pot like the Bialetti Venus is your best option. Stovetop coffee makers made of aluminum, such as the Bialetti Mokka Express, will only work with induction if you put a pan underneath. For fans of the eight-sided classic look, Bialetti has designed a moka pot, especially for induction with a vintage feel to it.
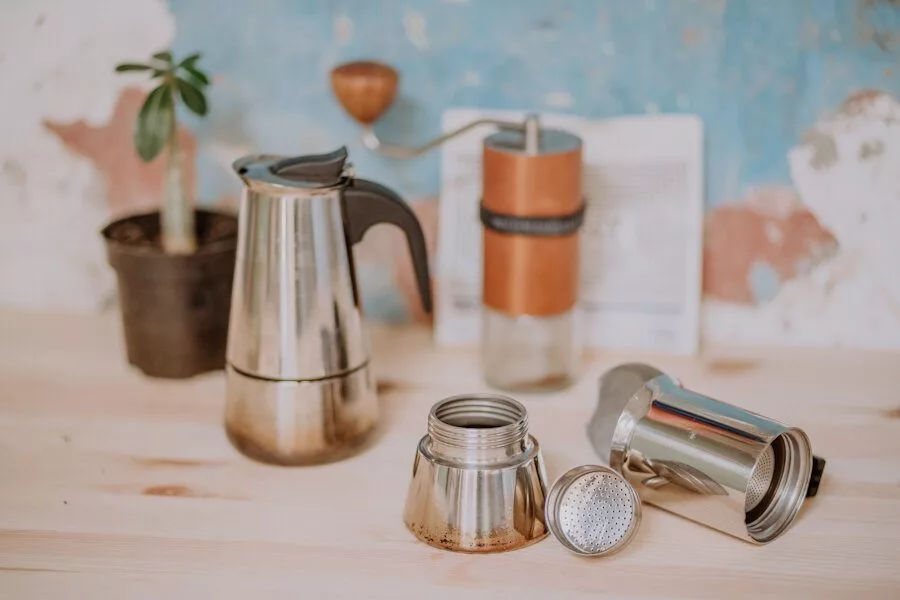
Clean all removable pieces of your brewing device to avoid any unwanted flavors. The main parts of a moka pot include: a knob, lid, small column, coffee collector, handle, filter plate, gasket, funnel, heating vessel, and release valve. On a little side note, double-check that gasket (which can come loose if you use your moka pot long enough) and all other parts are in the right place. My moka pot exploded in the kitchen once and I had to repaint the walls. True story. Without wanting to sound like a broken record, I always recommend freshly grinding your beans before brewing. There’s a helpful post reviewing the best hand coffee grinders up on my blog.
When you’re ready to fill your moka pot with coffee, it’s important to choose the appropriate grind setting. To clear the air, although the moka pot is also referred to as Italian espresso maker or stovetop espresso maker, it is impossible to prepare true espresso with it. You’d ideally need 9 bars of pressure to create a thick crema on top, whereas the moka coffee is extracted with only 1 to 2 bars of pressure. Therefore, don’t grind your coffee as fine as you would for espresso to avoid over-extraction. I use a Comandante grinder and choose a grind setting between espresso and drip coffee, which translates to 15-20 clicks.

The Ideal Choice of Coffee Beans for a Moka Pot
As a rule of thumb, the best coffee is the coffee you like. However, as the moka pot over-extracts by design and therefore tends to highlight undesirable bitterness, medium or medium-dark roasts are more suitable for the refined palate than a dark roast when brewing with this device. I’ve experimented with all kinds of roast levels and achieved the best results with medium roasted coffees from Brazil, Colombia or Guatemala. As for fruity, lightly roasted coffees from Kenya or Ethiopia, I found them to taste considerably better when brewing espresso-style coffee with the AeroPress.
How to Brew Excellent Coffee with a Moka Pot
Once you set out to use your Moka pot, there are a few simple guidelines you can follow to optimize the result.
1. Use a Clean Moka Pot
Great taste starts with a clean brewing device. The best practice is to clean your Moka pot thoroughly after each use, in order to prevent buildup that could lead to issues down the road. Aside from affecting operation, leftovers will negatively impact taste, with bitter flavors, and rancid oils.
2. Utilize Filtered or Bottled Water
Producing a balanced cup of coffee requires the use of high-quality, filtered or bottled water. Considering that coffee is 98% water, it’s no wonder professionals turn to clever solutions like Third Wave Water to optimize its mineral content. It goes without saying that in many parts of the world tap water is to be avoided for brewing coffee.
3. Pre-boil Your Water
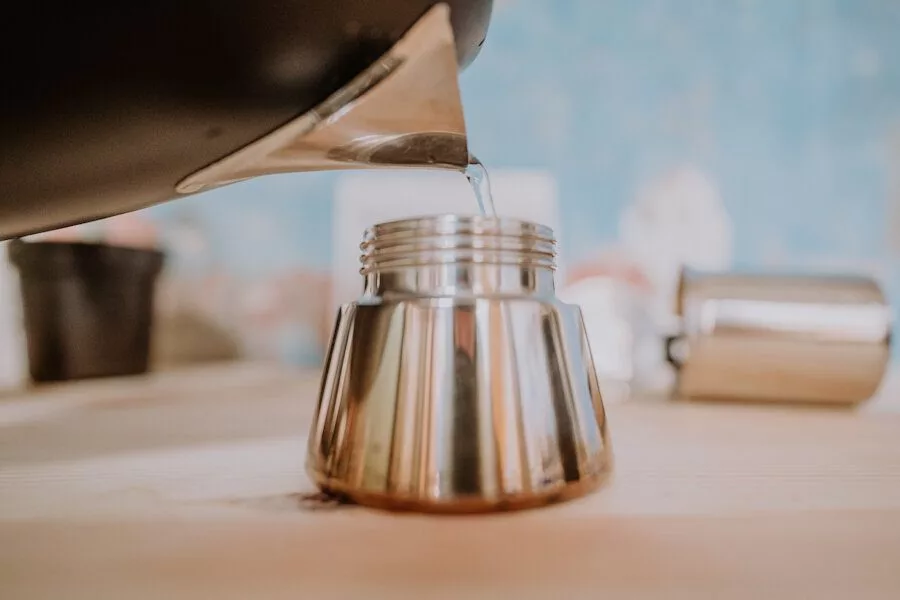
Taking the time to pre-heat your water will go to great lengths in improving the taste of your coffee. Aside from reducing the time the moka pot is sitting on the heat, pre-boiling your water before adding it to the chamber lessens the odds of burnt grounds and bitter-tasting coffee.
4. Add Water and Coffee Ground
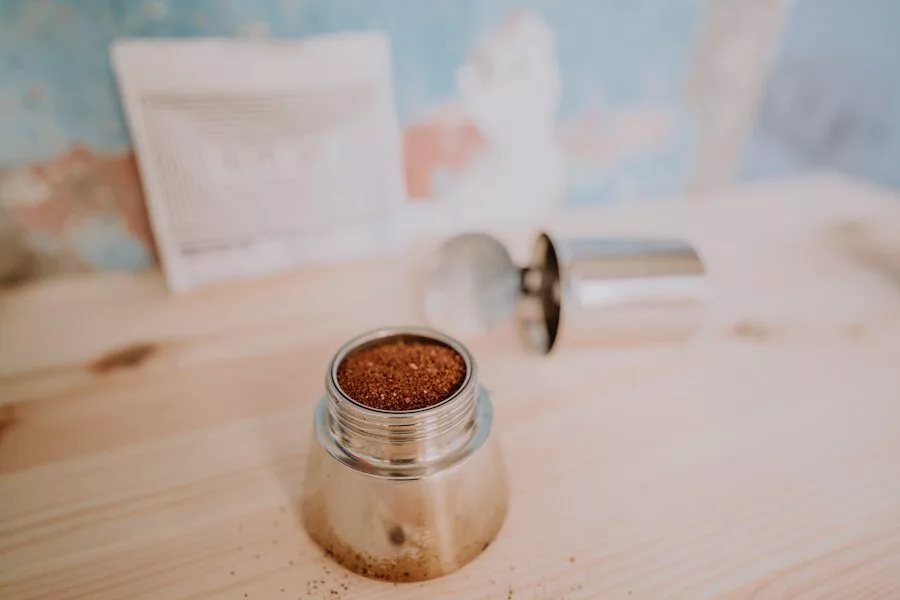
Begin by filling the bottom section of your Moka pot with pre-boiled, filtered or bottled water up to underneath the valve. Add coffee grounds to your filter basket, and level off the contents. Resist the urge to press, or tamp the coffee grounds down into the basket. Additionally, avoid overfilling the basket, or building a “coffee mountain”
5. Brew Espresso-like Coffee
Screw the parts of the pot back together using a towel to avoid burning your hands and, with the lid open, place the moka pot over medium heat. When the coffee starts gushing out of the spout, it has a temperature of around 60 degrees Celsius, after that the temperature will rise exponentially, which results in bitterness. You can avoid this by removing the Moka pot from the heat when the coffee has filled half the vessel or, if you have a thermometer handy when the output reaches 75 degrees Celsius. Run the base under cold tap water to stop the extraction. Don’t get distracted and leave the moka pot on the heat until you hear the gurgle to avoid a bitter ending. Give the contents a good stir before serving, and enjoy black or with milk.


Tools to Improve Brewing with a Moka Pot
There are some limitations that are inherent with any method of brewing coffee. For making stovetop coffee, this includes the difficulty of controlling the water temperature, which puts coffee lovers in a bit of a pickle. Finding that sweet spot to remove the moka pot from the heat before it starts extracting bitterness is tricky. By following the steps outlined in this article, though, you will be more likely to receive good results.
If you are struggling with hitting the correct water temperature, it may be worth your while to invest in an affordable thermometer, such as the Inkbird Food Thermometer, to gain more control. While the moka pot doesn’t give much room to experiment with brewing recipes due to the limited size of the water chamber and coffee collector, there are a few other tools available that will improve your overall moka pot experience and reduce bitterness, such as paper filters. With or without an extra filter, by following the simple instructions listed here, you’ll be well on your way to enjoying a consistently delicious cup of espresso-like coffee from the comfort of your own home time and time, again.


